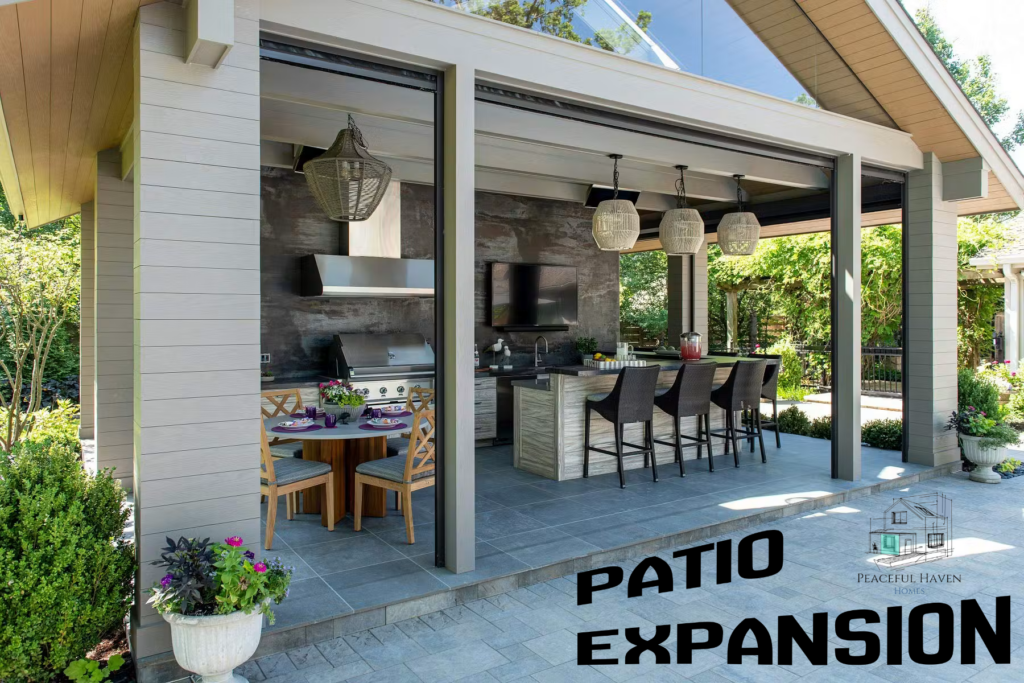
Many homeowners love the idea of a bigger patio — extra space for morning coffee, weekend grilling, kids playing, or hosting friends without everyone feeling crowded. But when they start thinking about actually expanding it, the same worries tend to surface:
“Will the new section stay level?” “Will it match the color and texture of what’s already there?” “Will it actually look like it belongs, or will it feel like an obvious add-on?”
These concerns are valid. A poorly planned or rushed patio expansion can lead to settling, uneven surfaces, drainage problems, or a visual mismatch that bothers you every time you walk outside.
At Peaceful Haven Homes, we approach patio expansions the same way we approach every project — with craftsmanship, clear communication, and attention to the details that determine long-term success. Here’s exactly what goes into a professional patio expansion, step by step.
Step 1: On-Site Consultation & Thorough Assessment
We begin with a detailed walk-through of your property. This isn’t just a quick look — we evaluate:
- The condition and slope of your existing patio
- Yard grade and natural drainage patterns
- Soil type and compaction potential
- Proximity to your home’s foundation
- Utilities, trees, or other obstacles
- Your goals for size, layout, and how you want to use the space
We also discuss whether you want the addition to feel completely seamless or have a defined border or step for visual interest. Every yard is different, and what works on one property may not work on another. This step prevents costly surprises later.
Step 2: Design, Material Selection & Clear Planning
Once we understand your space and goals, we move into design and materials. We bring actual samples to your home so you can see colors and textures in your real lighting and right next to your existing patio and house siding.
Common options include:
- Poured concrete — with control joints, possible stamping or staining
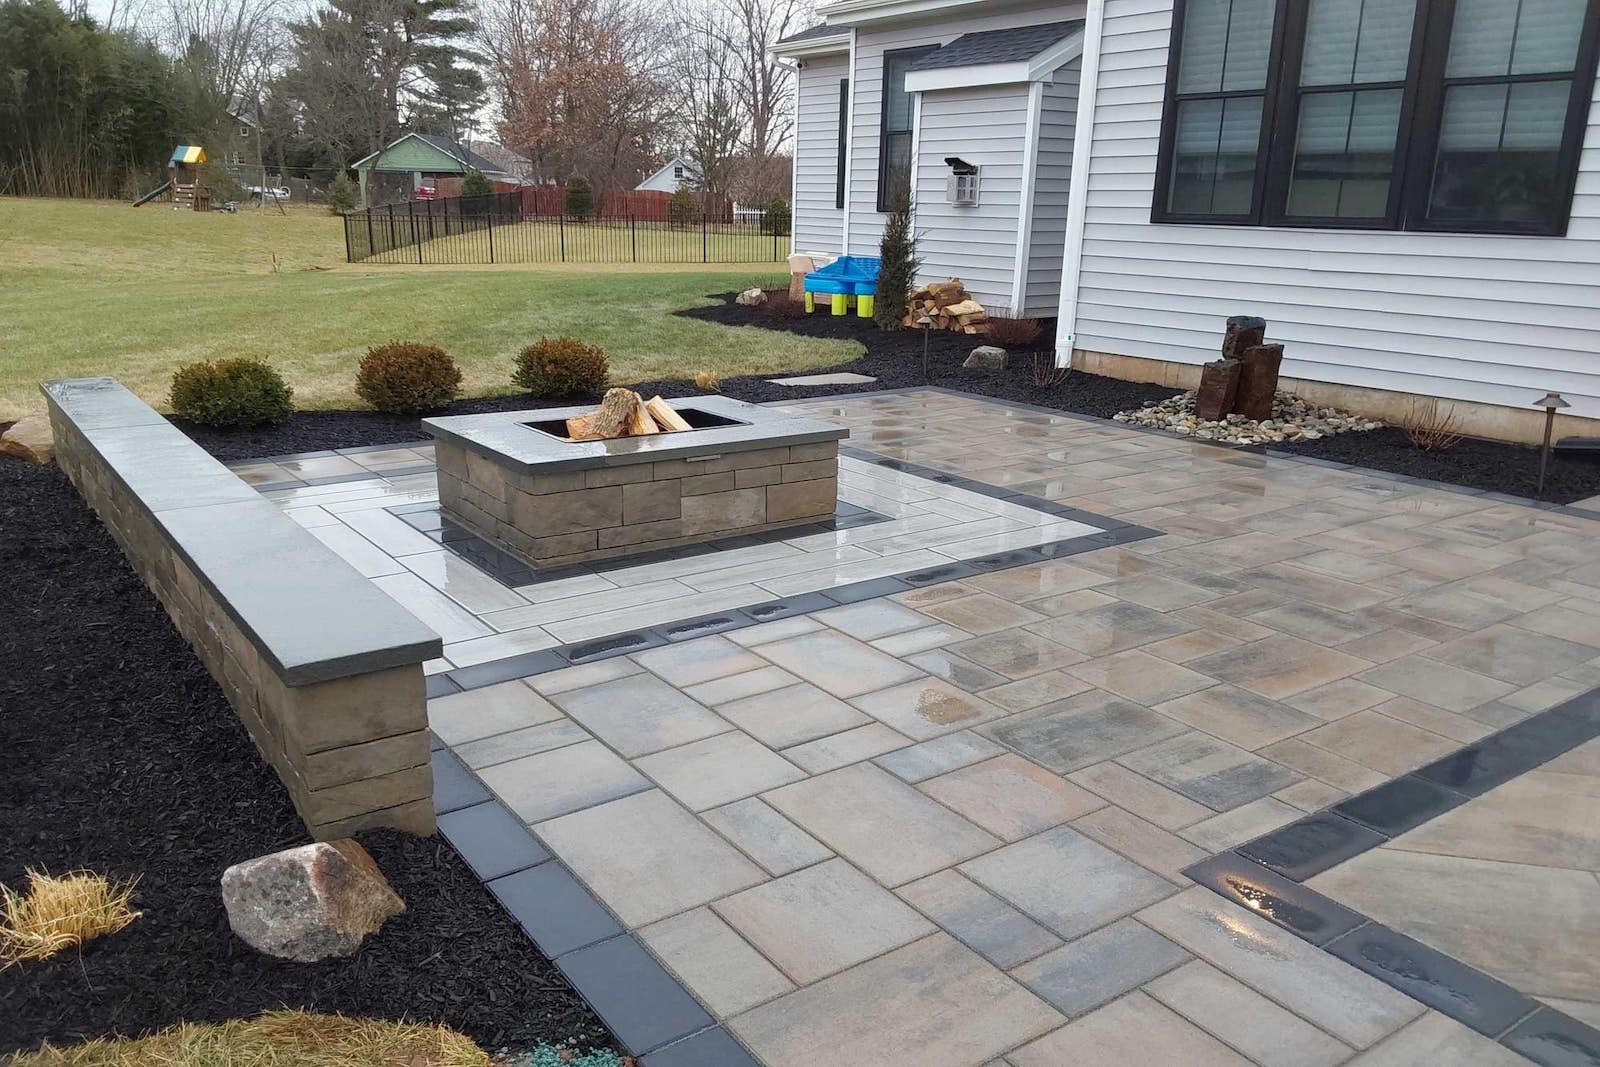
- Pavers — often preferred for additions because they offer excellent drainage, easier future repairs, and more flexibility in matching or complementing existing surfaces
- Natural stone or hybrid designs with borders and accents
We mark out the proposed expansion on the ground (or provide simple drawings) so you can visualize the final size and flow. This is where we solve the “Will it match?” and “Will it meet my expectations?” questions before any work begins.
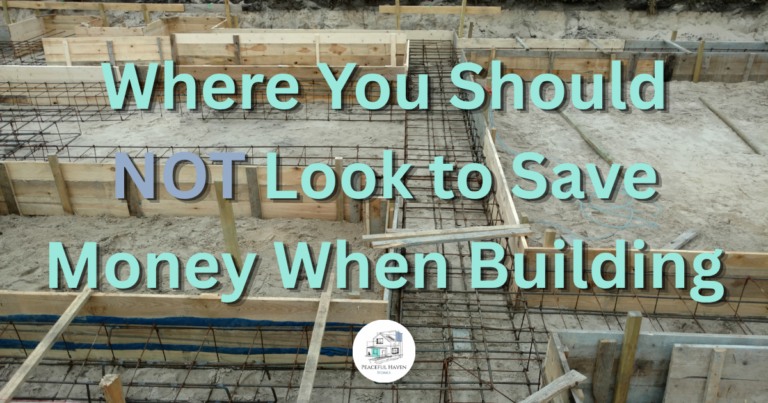
Step 3: Site Preparation & Base Construction (The Most Critical Step)
This is where the long-term success of your patio is truly decided — and it’s the step that’s most often underdone on lower-quality jobs.
We excavate to the correct depth, re-grade the area so water flows away from your foundation (typically ¼ inch per foot), and install a solid base of crushed stone or gravel. Each layer is compacted thoroughly with proper equipment.
A weak or poorly compacted base is the #1 reason patios sink, crack, or become uneven over time. When we do this step right, your new patio stays level and stable for years, even with Chattanooga’s clay soils and occasional heavy rains.

Step 4: Installation & Seamless Integration
Whether we’re pouring concrete or laying pavers, we pay close attention to how the new section meets the old one. Proper expansion joints, edge restraints (for pavers), and finishing techniques create a clean, intentional transition instead of an obvious patch.
We also handle any additional features you’ve chosen — fire pits, seating walls, lighting, or landscaping tie-ins — at the right stage so everything works together.
Step 5: Finishing, Curing/Settling & Handover
After installation, we complete final grading, apply sealer if appropriate, and do a thorough cleanup. Concrete needs proper curing time; pavers need a short settling period. Then we walk the finished project with you, confirm everything meets expectations, and explain ongoing maintenance.
You’ll leave with a clear understanding of how to care for your new patio so it continues looking great for years.
How This Process Prevents the Problems Homeowners Fear Most
- Level & stability issues — Solved by proper excavation, grading, and a well-compacted multi-layer base.
- Matching problems — Solved by bringing real samples to your home and having honest conversations about what looks best (sometimes a complementary border or accent looks better than forcing an exact match on aged concrete).
- Not meeting expectations — Solved by detailed upfront planning, on-site visualization, clear communication throughout, and our craftsmanship standards.
Timeline & What to Expect
Most patio expansions take 1–3 weeks from start to finish, depending on size, weather, and chosen materials. We’ll give you a realistic timeline during the consultation and keep you updated as the project progresses.
In the Chattanooga area, most simple ground-level patio expansions do not require a building permit. However, we still build everything to proper standards for drainage, longevity, and code compliance.
Ready to Expand Your Patio?
If you’ve been thinking about adding more outdoor living space but want to make sure it’s done right the first time, we’d love to help.
We offer on-site consultations where we assess your yard, show you material options, answer all your questions, and give you a clear plan with transparent pricing — no pressure and no obligation.