Today, I’m thrilled to kick off a brand-new series, taking you behind the scenes of our latest project home remodel. This isn’t just about putting a fresh coat of paint on a house; it’s about transforming a solid, well-built home into a functional, safe, and beautiful space ready for its next chapter.
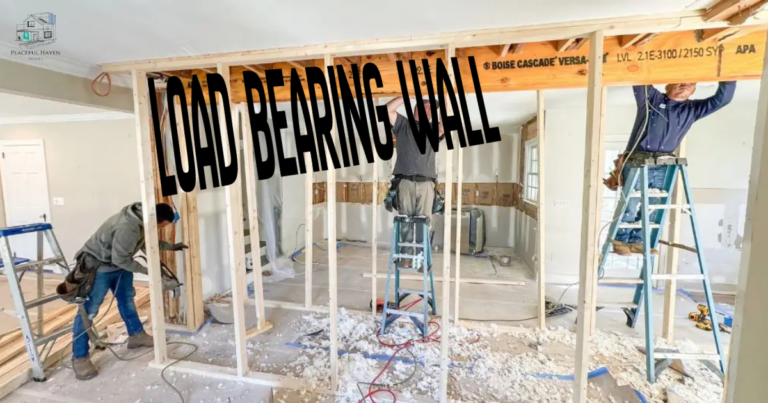
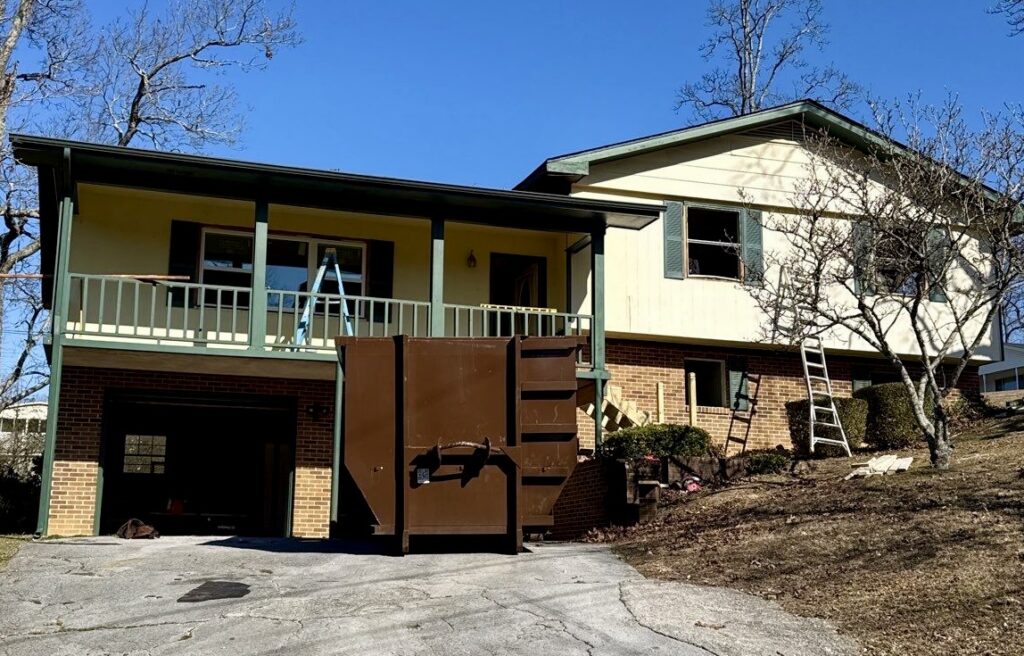
We chose this particular home to remodel for several reasons. Built in the 1970s, it sits on a fantastic corner lot in an established, safe neighborhood here in Tennessee. From the moment we saw it, we knew it had “good bones.” We meticulously checked the foundation, ensuring there were no major structural issues, which is always our top priority. The cosmetic and functional aspects, though outdated, were exactly what we look for – opportunities to bring a home into the 21st century.
Our approach to every remodel is rooted in a simple philosophy: we’re not just “putting makeup on the walls.” Our goal is to ensure this home is safe, durable, and ready to serve its new owners for the next 30 to 40 years. This means tackling everything from outdated wiring to inefficient layouts.
The Numbers & The Timeline
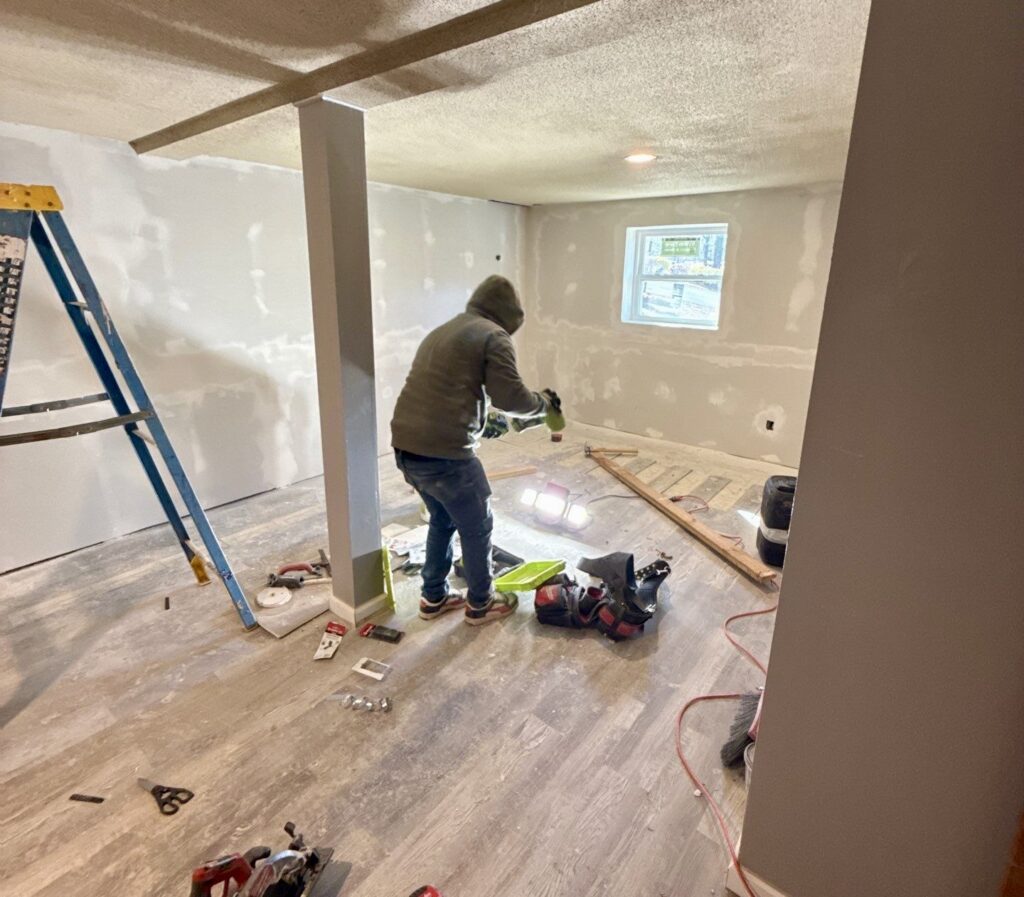
Let’s talk logistics. We purchased this home for $192,500, and we’ve allocated a renovation budget of approximately $100,000. Now, for the real challenge: the timeline. We’re pushing for a tight 3 to 5-week completion for the major renovation work. How do we achieve this? It’s all about meticulous scheduling. We’re bringing in our incredible team of trades – demolition, framing, plumbing, electrical, HVAC, drywall, painting, and flooring – with a strict, non-overlapping schedule. This keeps the project moving like a well-oiled machine, minimizing downtime and maximizing efficiency.
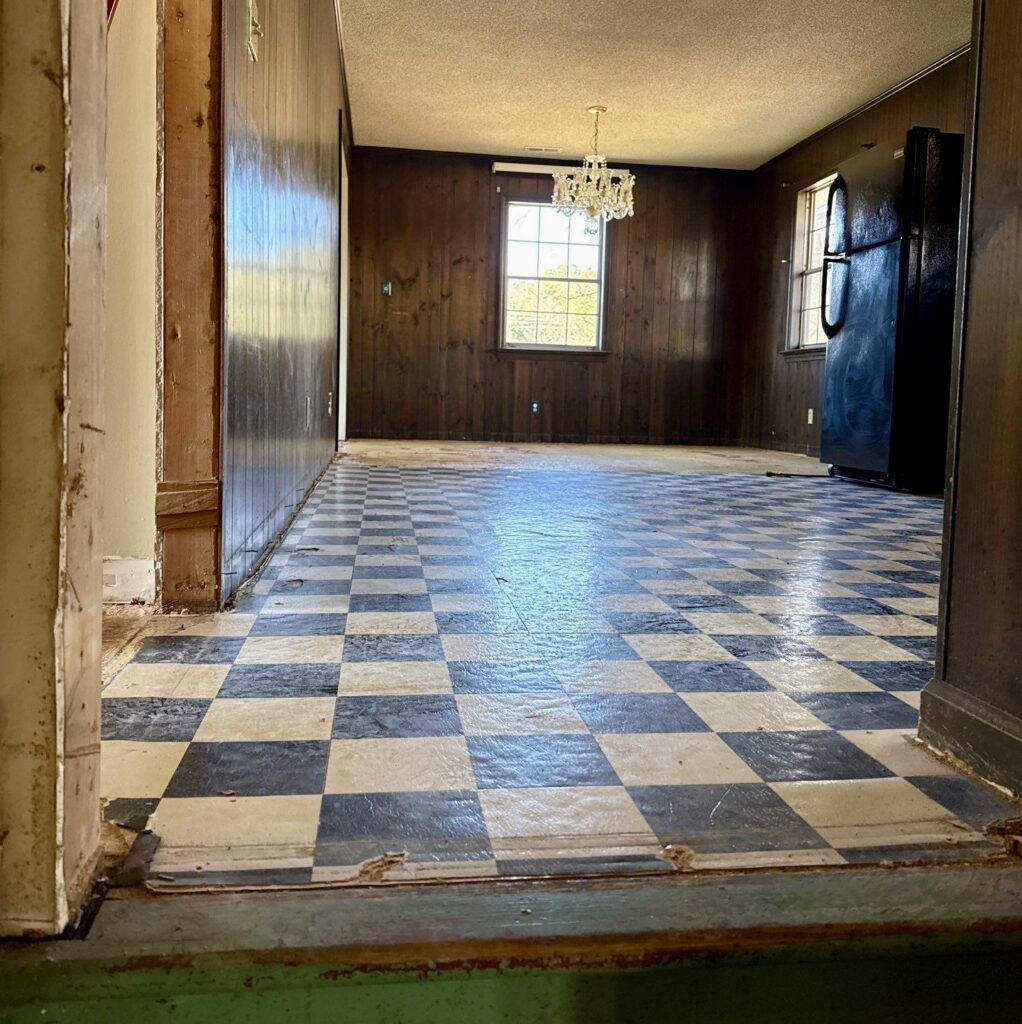
Uncovering History & Making Tough Choices
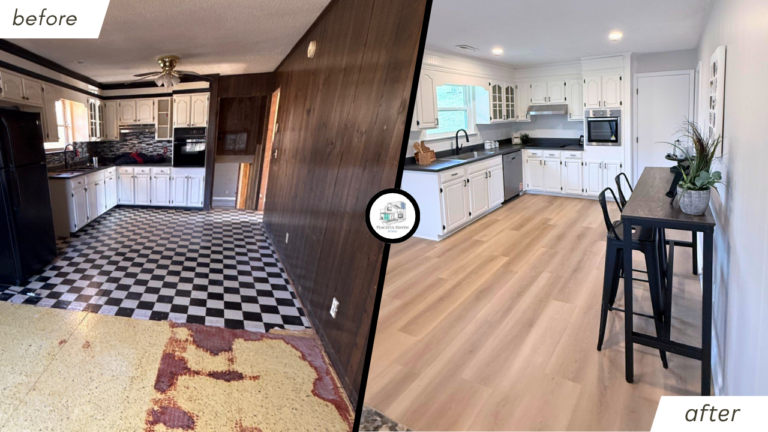
As soon as demolition began, we stumbled upon a fantastic surprise: original white oak hardwood floors hidden beneath layers of old luxury vinyl plank!
That’s the kind of discovery that gets us excited. For a moment, we considered the possibility of refinishing them. However, after careful consideration of our budget and our commitment to consistency and durability, we made the call to install high-quality 20 mil LVP throughout the entire house. This ensures a seamless, modern look and incredible longevity, which is essential for a home built to last.
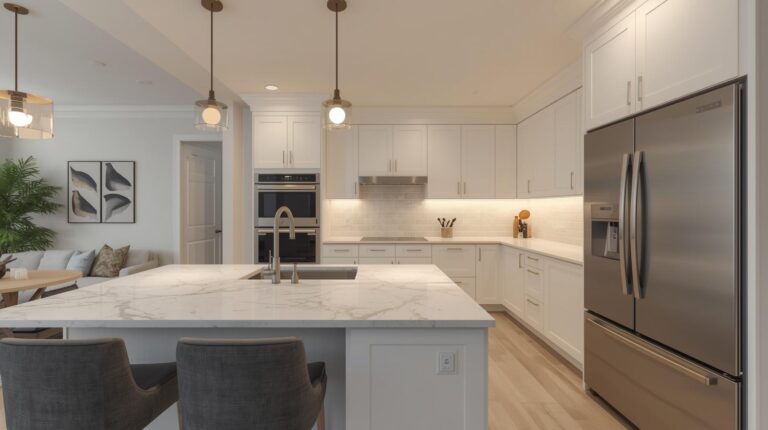
Modernizing for Today’s Living
A 1970s home often lacks the conveniences we consider standard today. Our remodel is all about addressing these “missing pieces” and integrating modern functionality. For instance, the original kitchen had no space or plumbing for a dishwasher, which is practically a necessity in any modern kitchen. We’re carving out that space and running the necessary lines.
Another small but significant upgrade is the garage door motor – yes, the original was manual! We’re also completely overhauling the lighting system. Many rooms had no overhead lighting at all, relying on lamps. We’re adding new switches, fixtures, and recessed lighting to create bright, inviting spaces throughout the home.
A Fresh Look: The Design Palette
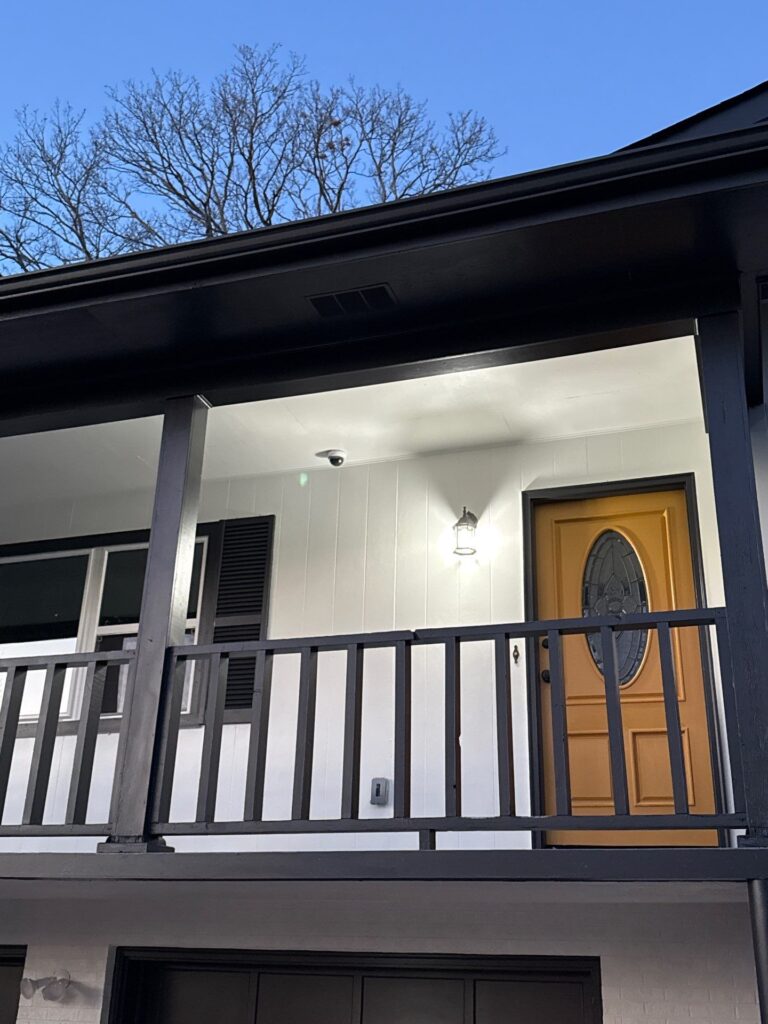
Out with the old “cream and dark green” trim, and in with a fresh, elegant, and timeless color scheme! For the exterior siding, we’ve chosen “Snowbound” (a crisp white), complemented by “Black Magic” for all the trim. And for a pop of personality that truly welcomes you home, the front door will be a vibrant “Mustard”.
What’s Next?
It’s been a whirlwind, but seeing the transformation from a dated 1970s structure to a modern, safe family home is why I do what I do. If I wouldn’t feel comfortable living there with my own family, I’m not going to let someone else move their family in—it’s that simple.
Stay tuned for Part 2, where I’ll show you the “after” and walk you through the finished results of our hard work. In the meantime, if you’ve been looking at your own home and thinking it’s time for a change, don’t hesitate to reach out to us at Peaceful Haven Homes. Whether you need a full remodel or just a budgetary estimate to see what’s possible, we’re here to help you build your own haven.